Since you can now use the Raspberry Pi 2 as an everyday desktop, Mayank Sharma needs a distro that fits the fill.
The original Raspberry Pi struck a chord with anyone who wanted a tiny little device that had enough juice for a specialized task. Thanks to desktop distributions optimized for the Pi, in particular Raspbian, you could also use the Pi as an underpowered desktop. But with the shiny new Raspberry Pi 2, the device for the hobbyist has broken into the mainstream. With a quad-core processor and 1GB of RAM, the new version has the right kind of components and physical resources to outpace some full-sized desktops produced in the last decade or so.
However, the new Raspberry Pi 2 uses a processor based on a different ARM architecture than the original Pi. Among other things, this change means that you can’t use distros designed for the original Pi on the new Pi 2 straight out of the box. Since its release some months back, distros that target the Pi have been working hard to put out Pi 2-ready versions of their wares that take advantage of the extended hardware on the device.We already know that this will be the first Pi that’ll be supported by official releases from both Microsoft and Canonical, although their releases might not be what you expect So in this group test we’ll take stock of the available distro options. Instead of specialized builds, we’re on the lookout for a distro that lets us use the Pi as a general purpose desktop and extends all the benefits we’d expect from a regular desktop Linux distribution.
The one omission we regret is Pidora, the Fedora flavored distro for the Pi. Unfortunately the project has lost steam over the course and isn’t yet available for the Pi 2. We’ll also be leaving out RiscOS, which despite being an excellent OS, isn’t Linux and might be unfamiliar to many of our younger readers.
SARPi is the name of the sub-project that produces the ARM port of the Slackware distro. Just like its desktop sibling, Slackware on the Pi is an acquired taste that won’t appeal to everyone.
Unlike most other Pi distros, SARPi2 has a very involved installation process. It involves downloading a small boot image along with an optional set of packages for a complete network-less install. While for most distros the tricky bit is booting the Pi after you’ve transferred the disk image to the SD card, for SARPi this is just the beginning. The installation process involves laboriously navigating an ncurses-based menu, defining partitions, selecting packages, configuring the network and mounting an external source of packages, which takes about an hour to install depending on the source of the packages and the speed of your card.
Then you go through another round of steps manually defining the nitty gritties of the distribution. And that’s just the installation. Maintaining and administering the distro involves further geekery on the CLI. For example, you’ll have to edit the mirrors file and uncomment the entry for the mirror you wish to use before you can update or install packages.
While this level of involvement might seem masochistic to most, Slackware users would have it no other way. Slackware doesn’t make choices on behalf of its users and SARPi2 follows the simplicity-in-system-design principle of the desktop version to the letter. The good news for the non-Slackware users among us is the availability of detailed installation guides and other documentation. The SARPi2 website hosts an illustrated guide that meticulously tracks the installation process and helps you sail through the installation without any issues. Also, if you need handholding there are active Slackware forums on websites such as LinuxQuestions.org
By default, SARPi2 installs the KDE desktop, but you can replace it with the lightweight Xfce desktop. However, in our tests, not installing the KDE desktop breaks the Xfce desktop as some tools such as the wpa_gui insist on the presence of KDE utils like kdesu. Also, the distro doesn’t give an estimate of the installation size after you’re done customising the list of packages you wish to install. The default Xfce desktop includes apps such as Gimp, Pidgin, Xchat, GFTP, MPlayer and various Xfce utilities. The distro lacks a graphical browser, though you can fetch one using the package manager.
We also got SARPi2 to work with the MicroNEXT wireless adapter and the RPi camera module. However, unlike with other distros, getting anything to work is a chore for a non Slackware users. Despite Linux inherently being more involved than other operating systems, there are several things that users of mainstream distros take for granted. A task such as enabling the camera module, which can be done with a single keystroke using the raspi-config tool under Raspbian, involves multiple trips to the forums, loading modules, installing utilities, and editing files on SARPi2. That’s not a criticism of the distro, but a reflection of how good SARPi2 is at aping the behaviour of its desktop cousin.
Designed for Slackware users – keep this one away from beginners.The venerable Arch Linux distribution has impressive support for the ARM platform and has been running on the Pi for as long as Raspbian itself. However, pretty much like the Slackware-based SARPi2 distro, Arch on the Pi sticks to the design principle of its desktop version and puts the user in charge of building their own OS virtually from scratch.
Arch Linux on the Pi isn’t meant for the average desktop user. You wouldn’t even be able to transfer its image onto the MicroSD card without Linux. Furthermore, you even have to partition the memory card yourself and manually copy the filesystem from the command line. And that just gets you to the Arch command line interface with nothing more than a bare-bones system with a kernel. From here you have to laboriously build your system from the ground up. But just like Slackware, Arch Linux would have it no other way.One of the best tools in Arch is its Pacman package manager. With the CLI package manager you can assemble a fully functional desktop in under an hour. Yes, that might be 60 minutes more than the average desktop user would be willing to invest in setting up a desktop, but it enables you to cut the bloat on the installation. For example, setting up a Mate-based desktop with the usual collection of apps took us just over an hour. But for our troubles we got a streamlined desktop that’s quick off the heels and boots into the desktop in about 15 seconds.
Arch Linux also supports the Pi-specific functions including the camera module and the GPIO pins. But once again, enabling the support for these peripherals is a more involved process than on Raspbian. However, one of the strengths of Arch is its documentation and the distro’s DIY nature chimes with the Raspberry Pi’s education ethos.
Another distro that requires familiarity with its desktop version.
The idea behind Minibian is to create a minimal distro image with a small footprint that’s fully compatible with the official Raspbian distro, using the same underpinnings as its latest release. Instead of stripping away unnecessary components from the main distro, the developer of Minibian assembles this distro from the ground up by pulling in packages from the main Raspbian repository.
According to the project’s website Minibian is designed for embedded projects and makes available the maximum amount of the physical resources on the Pi. In our tests, a fresh install took slightly over 300MB on the MicroSD card and spared over 900MB of RAM. Even after installing the LXDE desktop, and a handful of graphical apps including the Iceweasel web browser and the Synaptic package manager, the distro used only about 111MB of RAM.
The stock Minibian image boots up to the login prompt in about 15 seconds. It ships with the DHCP daemon and the SSH server, so you can manage it remotely via the Ethernet. Since it uses the same mirrors as Raspbian, you can apt-get useful scripts such as raspi-config and rpi-update, though it’d be nice to have these useful scripts pre-installed. Once installed you can use these scripts to enable the camera module and work with the GPIO pins. You can also use the mirrors to install the necessary bits to get Wi-Fi to work or stuff the distro with graphical apps or even a full-fledged desktop.
But that’s not the use-case its developer had in mind. Minibian is meant for anyone familiar with Debian who wants to use the Pi as a dedicated server. It’s ideal for running security-related web apps, since there are no unnecessary daemons and services besides the one that you choose to install. While Minibian is a wonderful little distro, you’ll have to weigh it along with its biggest competitor: the similarly positioned DietPi distro, which offers a more convenient environment for fleshing out the base distro.
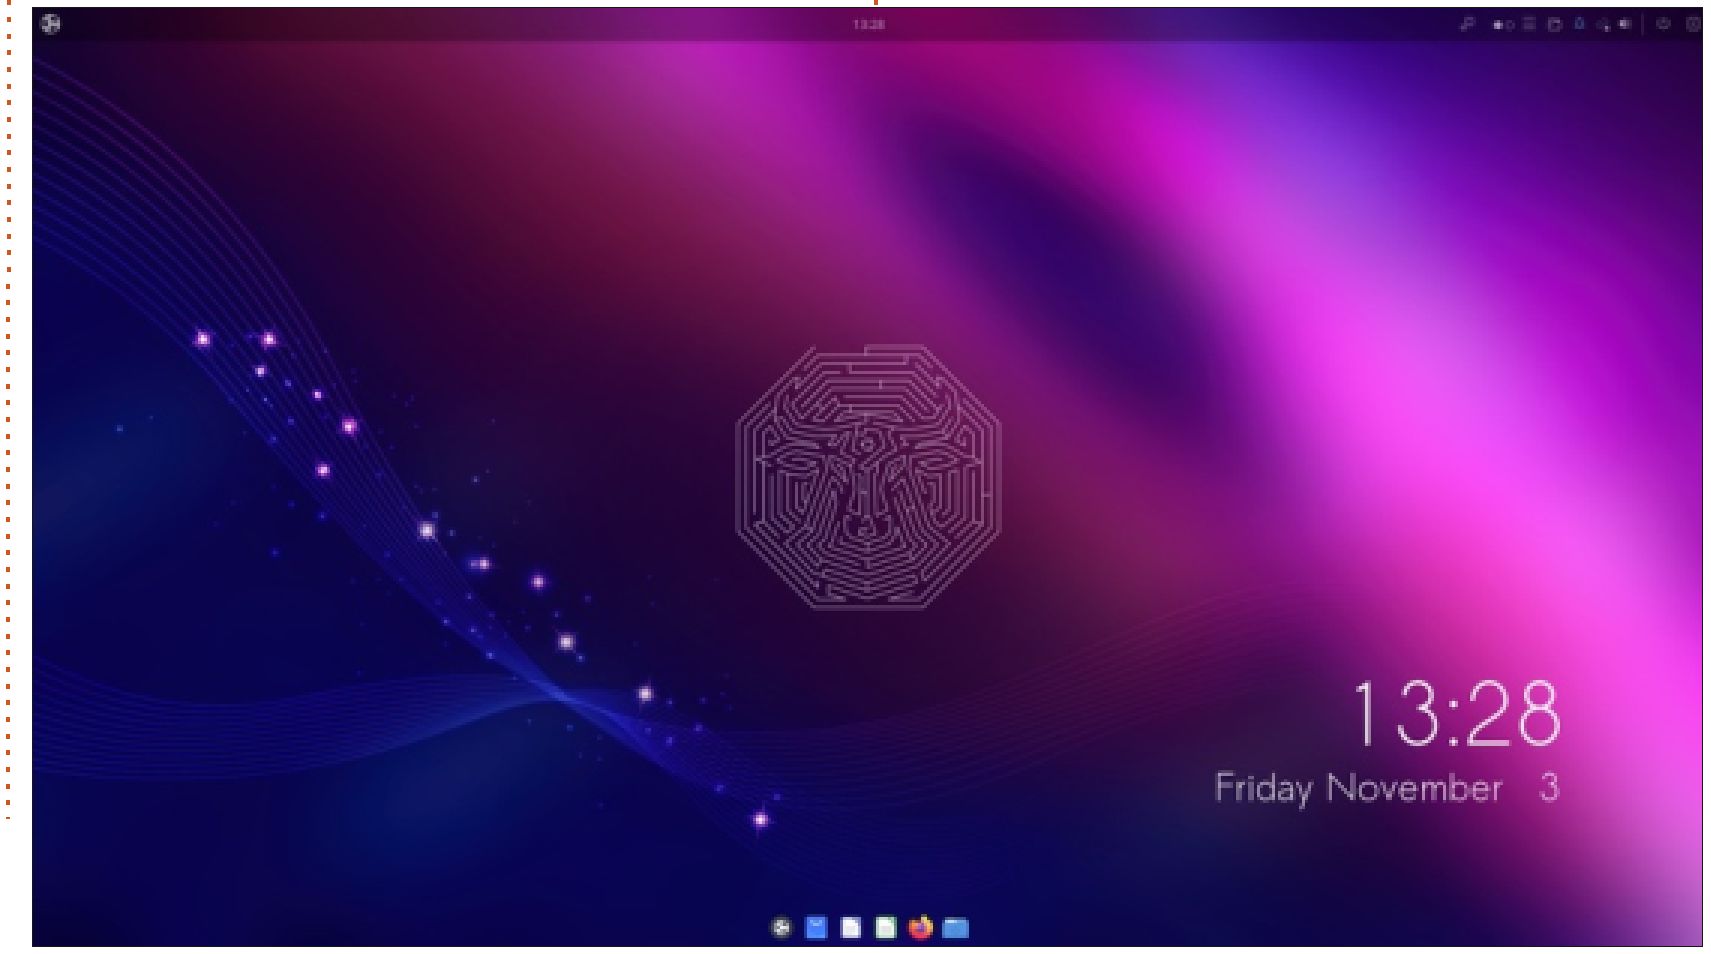
Pruned version of Raspbian that can be used as a regular desktop.One of the most popular uses of the Raspberry Pi is as an always-on and efficient standalone server. The DietPi distro installs the bare minimum components you need to flesh out the installation according to your needs. It isn’t the only distro that does so. But unlike others, DietPi goes one step further and offers a nice menu to help you pick and choose a functionality for the Pi. For example, using DietPi’s custom package management script you can turn the base installation into a filesharing server, a web server, a file server, a VPN server, a seed box and even into an LXDE-based desktop.
The distro ships in a 7zip-compressed archive, so Linux users will need to grab p7zip from the repos of their distros to extract the image file. Another good thing about DietPi is that it lets you tweak its configuration by editing a text file before you boot the Pi with it. So if you plan to use a Wi-Fi adapter with your installation, enter the SSID of your Wi-Fi network and its password in the distro’s configuration file after writing the image.
When you boot from the card, the distro will automatically resize itself to take over all the free space on the card and then check for updates as soon as you log in for the first time. This is good, as it takes care of the two most important aspects of using the Raspberry Pi as a server of any sort. It then launches an installation wizard to quiz you about some aspects about the installation. The most crucial information it seeks is whether you’d like to use a USB drive with the installation. If you decide to skip this you won’t be able to configure one later! This is an extremely weird limitation, but at least the screen gives you verbose feedback.Once you’ve configured the distro, you’re taken to the software selection screen. You can exit the tool at this point, which will only install the bare minimum base along with DietPi’s custom tools, using which you can flesh out the installation later. At this point you can use the distro’s pre-installed SSH server to log into the installation remotely.
In addition to the helpful software installation tool, DietPi includes a custom configuration script for managing various aspects of the Raspberry Pi and the connected hardware. You can use the script to overclock the Pi, change the resolution, mount remote shares, and even enable the Pi camera module. It also includes a tool for benchmarking the performance of the Micro SD card and any connected USB drives.
The best minuscule distro with the right kind of tools for easily fleshing it out.
With its first release in 2012, Raspbian is one of the oldest distrosforthe Raspberry Pi that runs on both the original Pi and the Pi 2. On the other hand, Ubuntu is a greenhorn making its debut on the tiny PC thanks to its ARMv7 chip.
Due to its age-old support and strong foundation, Raspbian is recognised as the recommended distro for the Pi. It’s also the easier to install of the two thanks to it being part of the Pi’s NOOBS installation mechanism. Raspbian uses the LXDE desktop and its default selection of a handful of apps is tailored for young audiences, particularly those who want to hone their programming skills. There’s Sonic Pi, Scratch, Minecraft, Wolfram Language & Mathematica along with interpreters for both Python 2 and 3.
While these apps make it a wonderful starter kit for educational purposes, it fails miserably as a regular desktop. The included web browser is good for reading HTML documentation but can do little else as it ships with no plugins. Three apps that are of note are the graphical app for configuring wireless adapters, the Pi Store client that pulls in apps from store.raspberrypi.com and the ncurses-based raspi-config script.
You can think of raspi-config as the BIOS for the Raspberry Pi. It helps you tweak the hardware of the Pi; for example, changing its clock speed and enabling the camera. On first boot, Raspbian launches the script to enable you to change the password for the default user and expand the distro to take over the entire card among other things. If you’re willing to put in some time you can transform Raspbian for everyday use thanks to the gazillions of apps at your disposal via its mirrors.
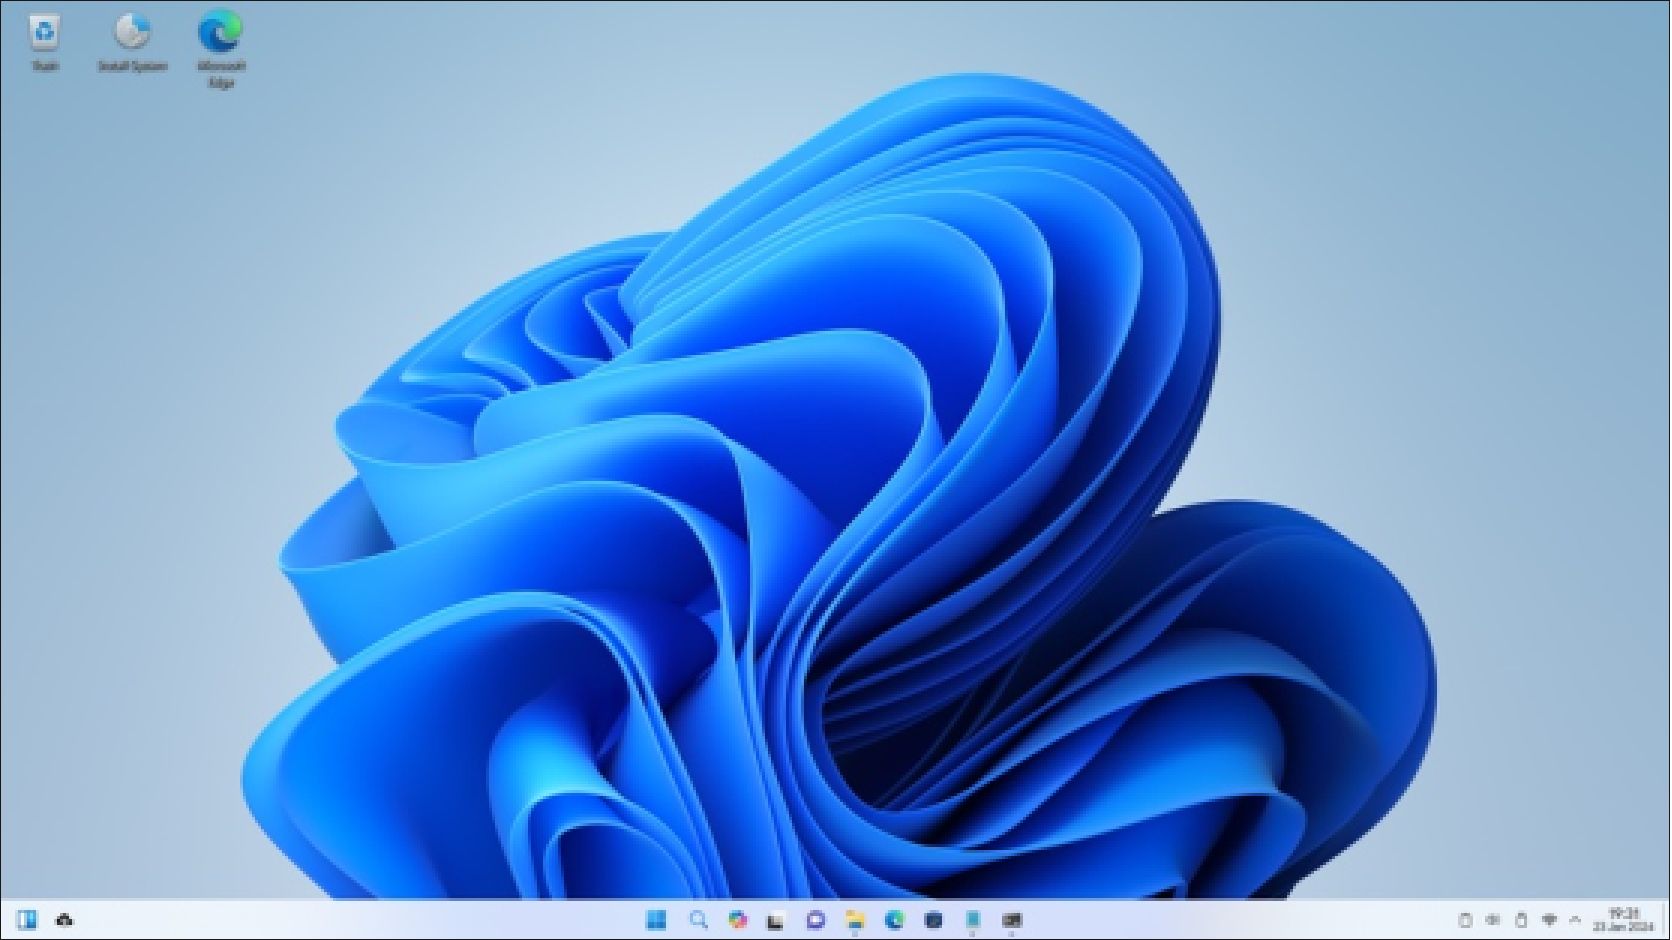
The recommended distro for the Pi is a good desktop distro.In contrast to the blandish Raspbian, Ubuntu Mate boots into a desktop that’s chock full of apps. As its name suggests, the distro is based on the Gnome 2-inspired Mate desktop and includes quite a few of its default lightweight apps as well. What’s surprising though is the inclusion of feature-rich mainstream apps such as Pidgin, Thunderbird, Rhythmbox, VLC, Firefox and even LibreOffice! The inclusion of LibreOffice might seems asinine at first (it did to us) but the fact that it starts up in under 10 seconds is a testament to the Pi 2’s processing superiority over its predecessor. Software management is handled by Ubuntu Software Centre, which, like the other heavyweights, performs well.
But all these apps take a toll on the distro’s boot times (about 50 seconds to boot to the desktop). Ubuntu also lacks the helpful raspi-config script, so you have to configure extras manually. For example, you can use the camera module on Ubuntu after appending a couple of lines in the config.txt file. Also, GPIO works out of the box.
Unlike other distros, Ubuntu Mate includes a four-step installation wizard that helps you create a user account. The distro also picks up the attached Wi-Fi adapter, though you’ll have to install the OpenSSH server if you want to manage the installation remotely.
Chock-full of apps and performs admirably well.
We aren’t kidding when we say that we can find a use for each one of these distros. SARPi, Arch, DietPi and Minibian are all excellent choices for building headless servers, depending on your familiarity with their respective base distros. These distributions ship with a bare minimum base and give you complete autonomy over their package management. You can use them to take full advantage of the Pi’s minuscule physical dimension to build a low footprint server that’ll fit anywhere.
Furthermore, since SARPi and Arch mimic their desktop variants, you can also use them to learn and understand the workings of the geekier Linux distributions without exposing them to your regular desktop.
Between the Debian-based mini distros, Minibian and DietPi, we favour the latter for its software management scripts. They are easy to use and help lower the entry barrier making it possible for even an inexperienced user to transform the Pi into a server without messing with the CLI. This isn’t how you’d ideally set up a web server for your company, but is ideal for deploying bite-sized home-based projects such as a MiniDLNA server or a seed box.
However, this group test is about finding a regular desktop distrothat takes advantage of the pumped-up Raspberry Pi 2. Raspbian has done a commendable job as a desktop distro for the original Pi, which is also why it’s the recommended flavour. That said, we’d like to award this test to the latest entrant on the Raspberry Pi’s download page, Ubuntu Mate. The distro has just had its first release on the platform, but it comes from a strong lineage and is backed by an official Ubuntu spin. It also lacks the convenience of the raspi-config script, but all the features of the script are available as long as you know where to look; plus, a version of raspi-config is on the project’s to-do list, and knowing the rate at which Ubuntu works you may find this feature implemented by the time you read this.
Ubuntu Mate on the Pi 2 is the sincerest attempt to ship a ready-to-use desktop distro for the Pi. The distro doesn’t require a trip to the package repository and can be put to use straight after its desktop-style installation, which earns it the top spot.