When you first install Linux Mint it’s configured for use with a single user. Whilst sharing a user account with the entire family is fine, there may come a time when you need to create separate users with their own unique Home folders.
NEW USERS
Having different users means each user will have access to his or her own areas on the system. Documents, pictures, videos and so on will be separate, as with multiple users on other operating systems.
STEP 1
Click on the Linux Mint Menu and type users to begin searching for the relevant console. From the search results, choose Users and Groups and enter your password. The Users and Groups console is quite basic looking and thankfully easy to use. At first, you just see your own username from when you installed Linux Mint.
STEP 2
To add a new user, click the Add button at the bottom of the console. There are two types of user you can create: Standard and Administrator. Unless the new user has need to install new apps or access parts of the file system beyond their Home folder, then opt for the Standard account type. Otherwise, use the Administrator account type.

STEP 3
Enter the new user’s Full Name, followed by the Username they’ll have when logging into Linux Mint. Make sure the username is all in lower case, a-z and 0-9 characters only. You can have full-stops, underscores or hyphens if you wish. Click the Add button when you’re ready to continue.

STEP 4
The new user will appear in the list of current Linux Mint users, in alphabetical order. At present, there’s no password set so click the user in the list of current users, then click the No Password Set option under the user’s username.
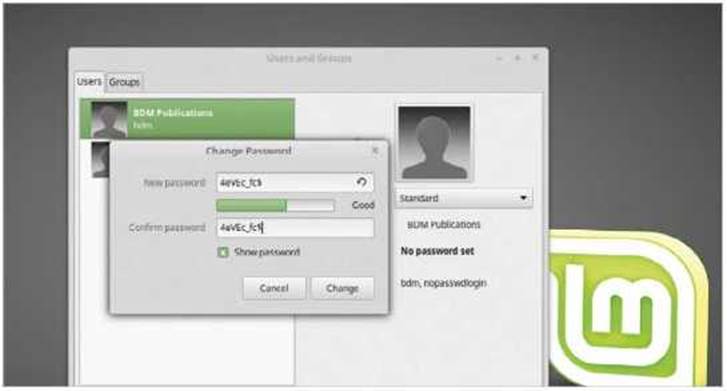
STEP 5
You can now enter a password for the new user, or you can click the curled arrow at the end of the New Password text box to generate a password for you, as well as displaying it. Naturally, it’s a good idea to come up with as strong a password as possible. When you’re done, click the Change button.
STEP 6
You can close the Users and Groups console window now, as the new user has been created. If you click the Mint Menu, followed by Logout, you are presented with the Mint Login Manager. The new user will be present in the list of currently available users. Click on him or her to log them in.

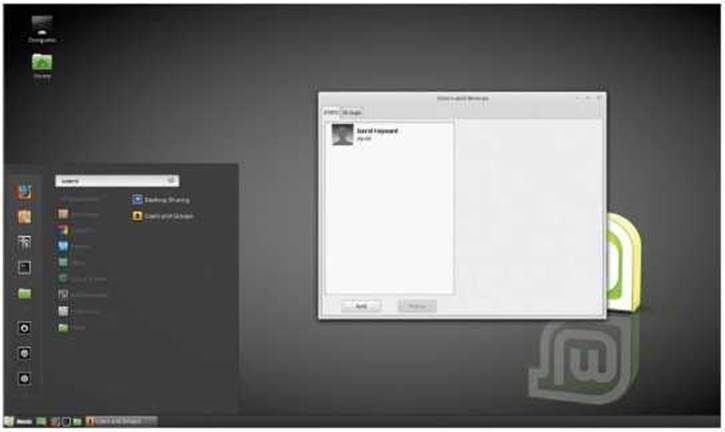
STEP 7
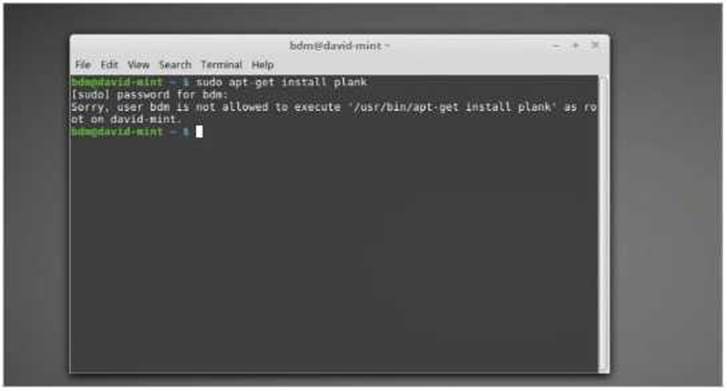
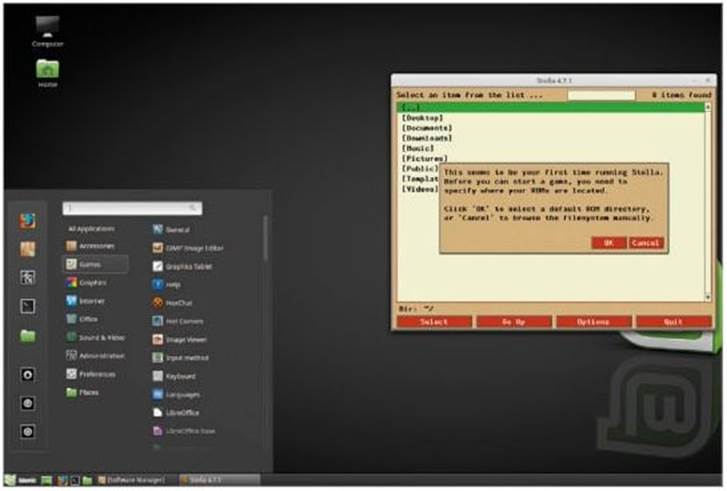
Once logged in the new user will be required to set up their own desktop wallpaper, icons, Panel, Menu and so on. Depending on what Account Type you set up them as: Standard or Administrator, they won’t be able to install any new apps. This screenshot is from a Standard user account type.
STEP 8
If needs be, you can quickly switch and login as an Administrator account by clicking on the Mint Menu and searching for new login. Click the New Login app and you are able to login as the admin without logging the first user out.

COMMAND LINE ACCOUNTS
As you’d expect, you can also create a new user from within the command Line. Open up a Terminal session under the main (yours), Administrator account.
STEP 1
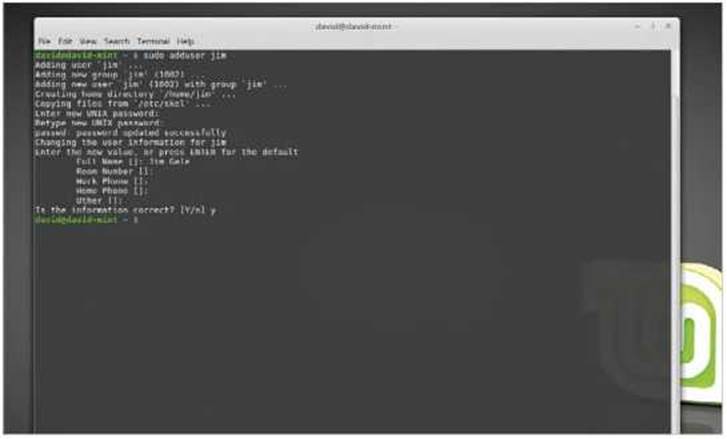
The process for adding a new user from the command line is relatively simple. To begin with, type: sudo adduser <username>, where <username> is the new user’s login name. You are then be asked to create a new password for the user, along with their full name and other details. Click y to confirm the details and create the user account.
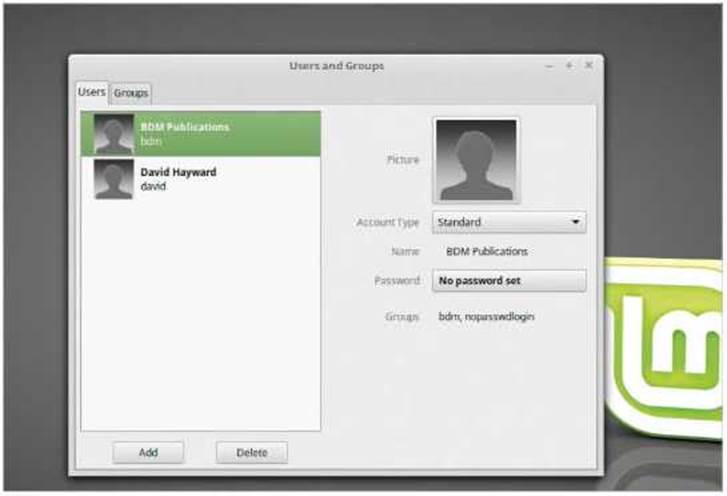
STEP 2
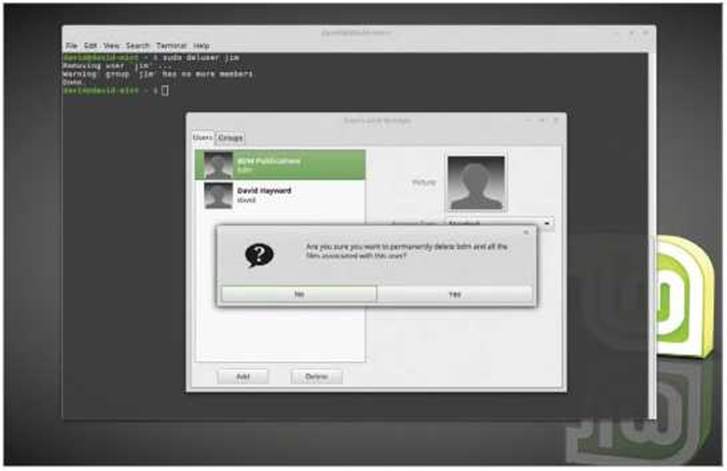
You can check the details and account type for the new user from within the Users and Groups console. If you want to delete a user from Mint, you can either enter: sudo deluser <username> in the Terminal or click the Delete button in Users and Groups.


This doesn’t work for me on step 1. I use Linux Mint 19.3 a nearly fresh install. In step 1, after authentication, nothing happens! The application apparently aborts.