
How to Edit the Mint Menu
The Mint Menu is the hub of Linux Mint and one of the best features of the desktop environment. Not only is it a one-stop place to find apps quickly, it’s also a place where you can search for folders and configure to a remarkably high degree.
MAKE YOUR OWN MENU
As with most other aspects of Mint, you can configure, tweak and personalize the Menu to suit your own tastes. Fancy changing the icon? Calling it something else? What about adding another category?
STEP 1
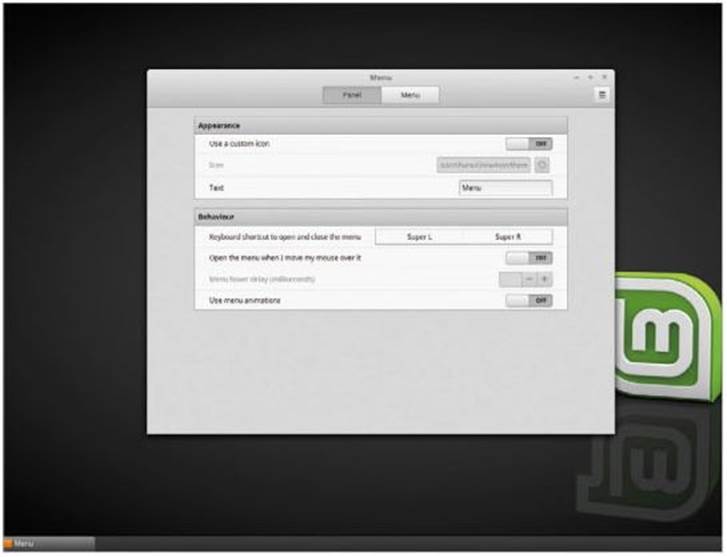
The Mint Menu looks pretty good out of the box. It’s a clean interface, easy to read and understand, and you can easily get to the many applications and areas features in Linux Mint. On the whole, it’s a well designed and user-friendly feature.
STEP 2
To personalize and tweak the Menu, start by right- clicking it and selecting Configure from the available options. This launches the Menu console window, with two available tabs: Panel and Menu.
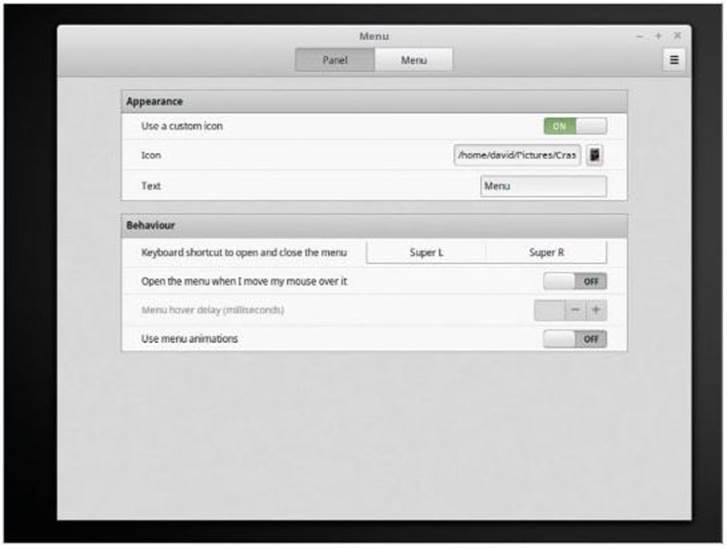
STEP 3
Starting with the Panel tab, you have the option to change the current Mint Menu icon to a custom image. Click the ‘Use a custom icon’ slider to the On position, then click the cog icon in the Icon section to navigate to an image. This will immediately change the Menu icon image.
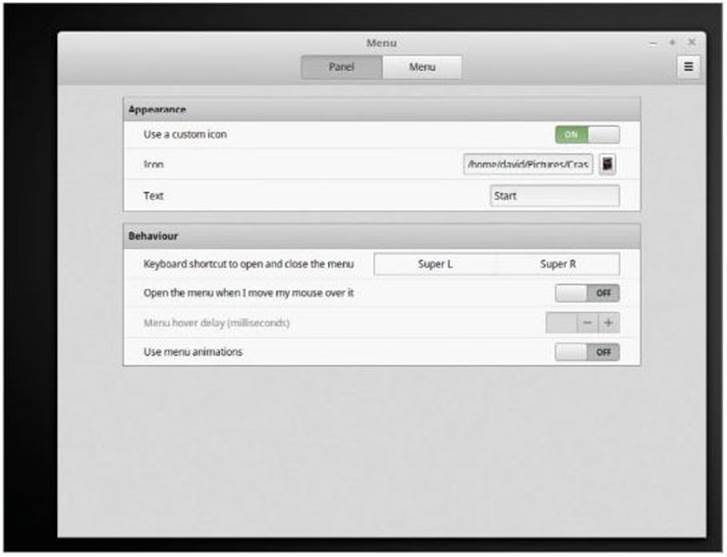
STEP 4
While still in the Appearance section of the Panel tab, you can not only change the Menu icon image but actually call the Menu something else. In the Text section, delete the word Menu and name it Start, for example.
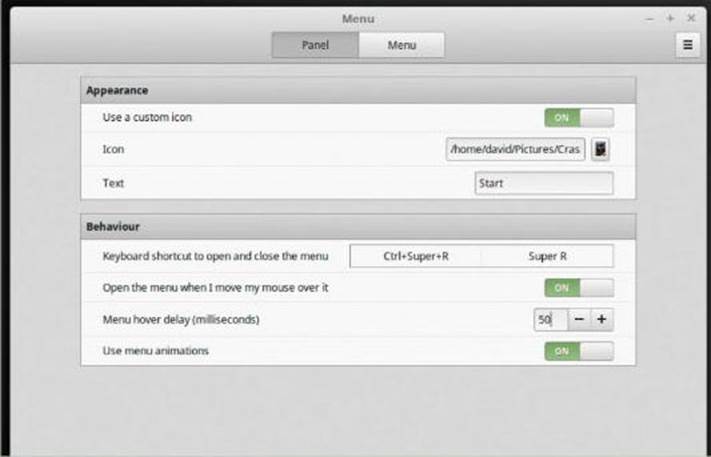
STEP 5
The Behavior section will allow you to define a keyboard shortcut to open and close the Menu. The default is perfectly fine but if you do want to change it, click the action and press the desired keyboard combinations. Here we’ve changed ours to Super (the Windows Key) + Ctrl + R.

STEP 6
The remainder of the Panel tab features the option to open the Menu when the mouse pointer hovers over it, as opposed to clicking the Menu, along with the hover over delay. You can also opt for Menu animations that gradually roll up the Menu when clicked instead of instantly launching.
STEP 7
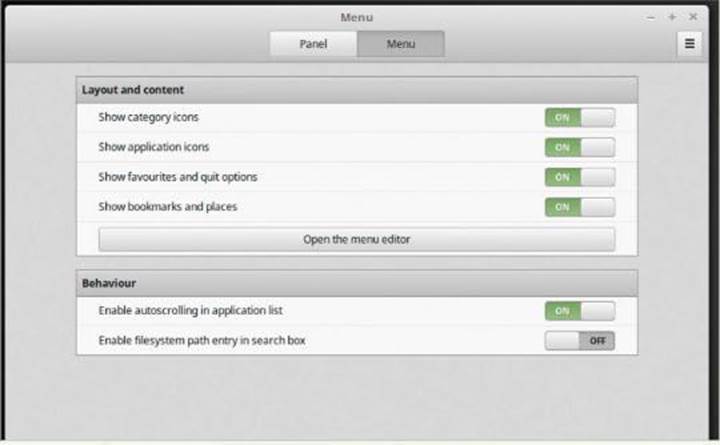
Moving on, the Menu tab has a couple of sections where the options within are already enabled by default. These include displaying the Menu category items, showing the Favourites and Session options in the Menu, Bookmarks and so on. It’s all fairly self- explanatory, so let’s take a look at the ‘Open the menu editor’ button.
STEP 8
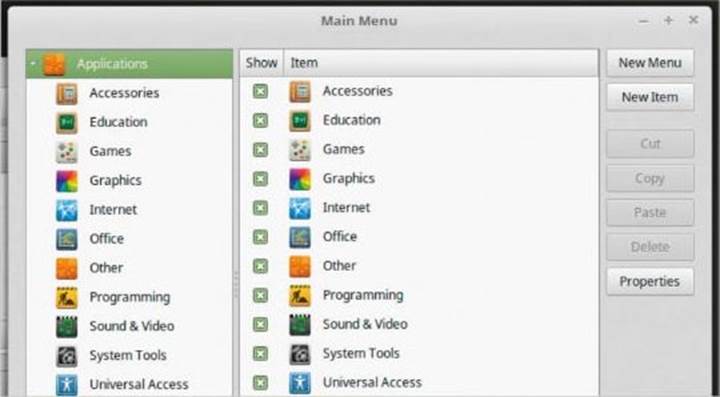
The menu editor is an interesting sub-console window that pops up. In here you’re able to further define the categories and contents the Menu offers when you click it open. You can see two columns with a set of controls down the right-hand side. The left column features the categories and the right column the contents of each category.
STEP 9
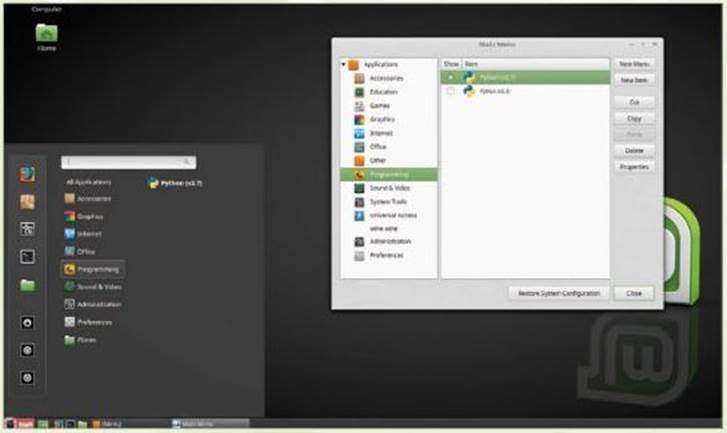
For example, the Programming category isn’t on the Menu by default, yet it’s here in the list of categories. Click Programming in the left-hand column; now the right-hand column will display two entries: Python v2.7 and 3.5. Tick the box next to Python (v2.7) and click the Menu. You can now see that Programming is listed and present.
STEP 10
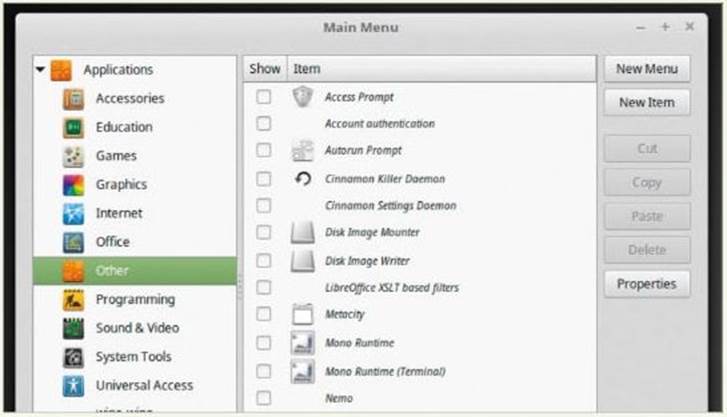
From the menu editor, you’re able to create new ^ Menu categories, move existing categories and include apps that aren’t in the Menu by default. It’s worth having a look around and seeing what you can do. If you mess something up, click the Restore System Configuration button to restore the default Menu layout.


Thank you!