While Linux Mint is a remarkably stable and secure operating system, it’s not 100% Pool proof, but not many systems are. Therefore we need a good, working backup to help us out in case things go wrong.
ALWAYS BACKUP
Backing up is the single most important computing task most users tend to never do! If you’ve ever lost your work or personal files during a crash, then you can certainly appreciate the need for a backup.
[sc name=”ad 1″]
STEP 1
As Linux Mint is a quick to install and update the operating system, it also doesn’t take long to get it back to the way it was prior to a devastating loss of data. That being the case, let’s concentrate this backing up tutorial on your personal Home folder, where you’re able to quickly restore it once you’ve reinstalled Mint.
STEP 2
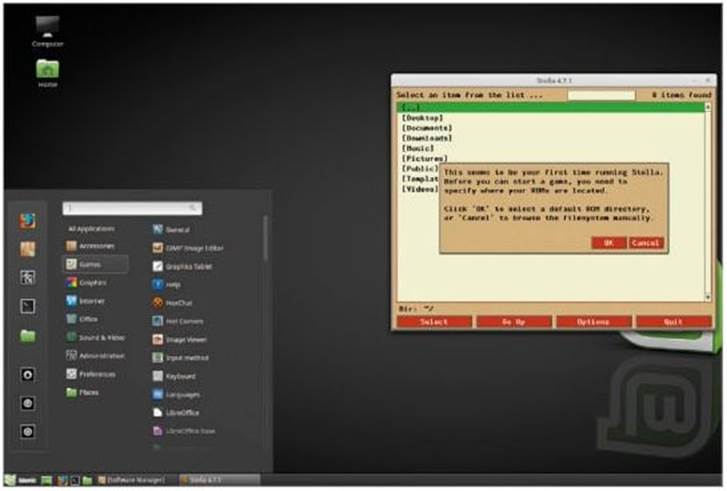
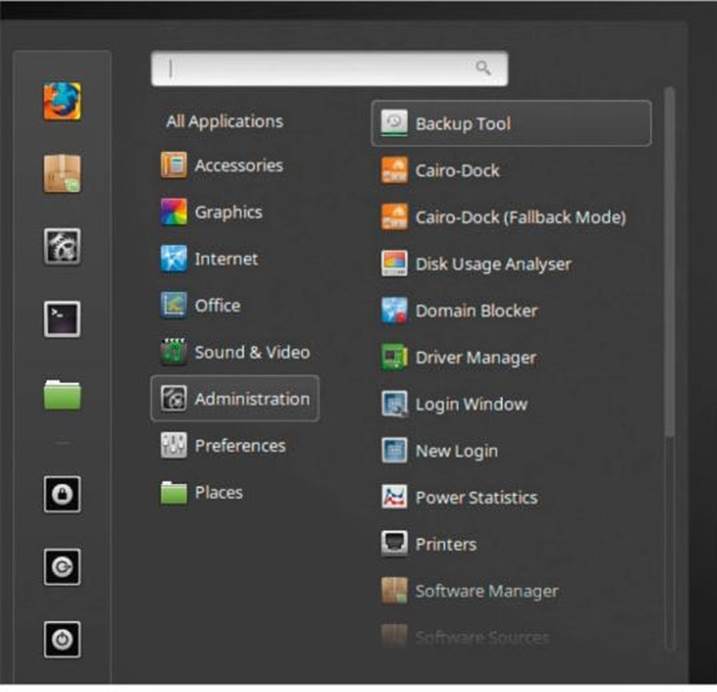
We’re using an 8GB USB flash drive to back up our data, which we’ve imaginatively named Backup; obviously you may need more capacity depending on what you have stored in your Home folder. First, let’s insert the USB stick into the Mint PC, then click the Mint Menu and either search for backup or look to the Administration category for Backup Tool.
STEP 3
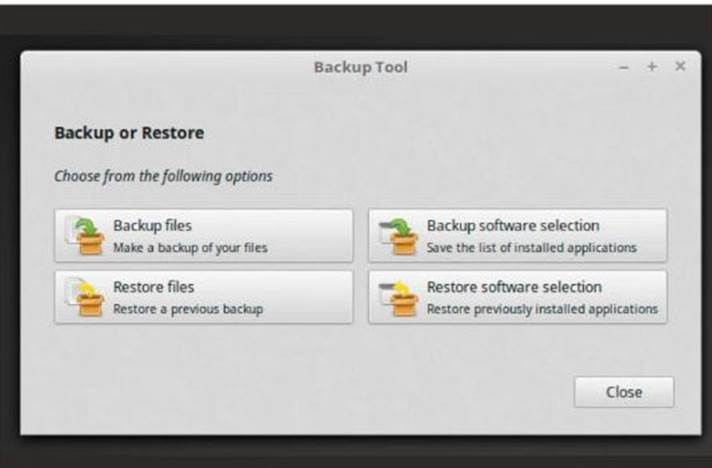
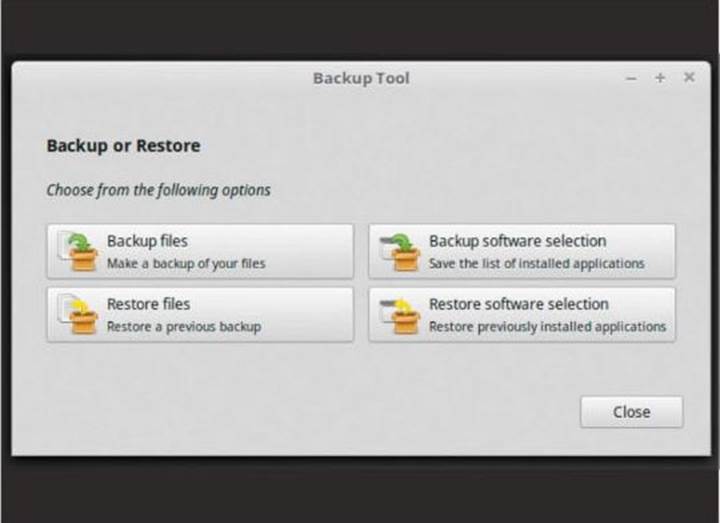
You need to enter your password before accessing the Backup Tool console window. Once it’s launched, you can see four available options: Backup files, Backup software selection, Restore files and Restore software selection.
STEP 4
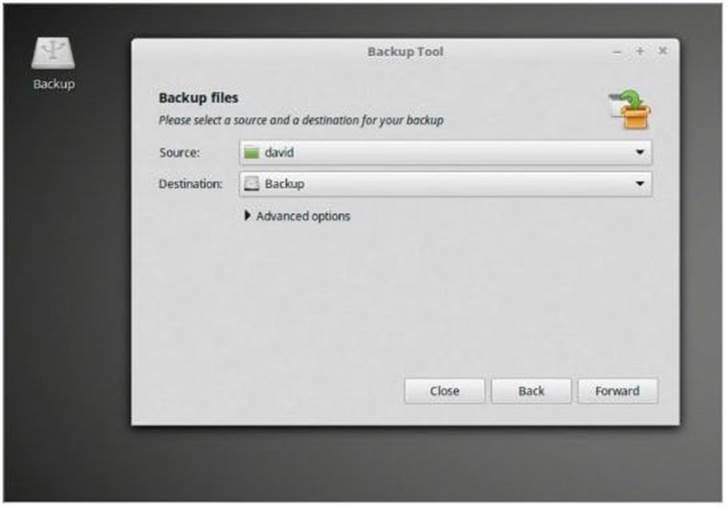
First click the Backup files option. This leads to another window, where you can enter the Source. Use the drop-down menu to choose Other > username, where username is your Mint username folder, and click Open. You can also opt for the Home folder, as seen here, in order to back up any other Mint user accounts.

STEP 5
In the Destination drop-down menu, click the Backup drive. This is where the backup files will be copied to. When you have both the Source and Destination locations set, click the Forward button to continue.
STEP 6
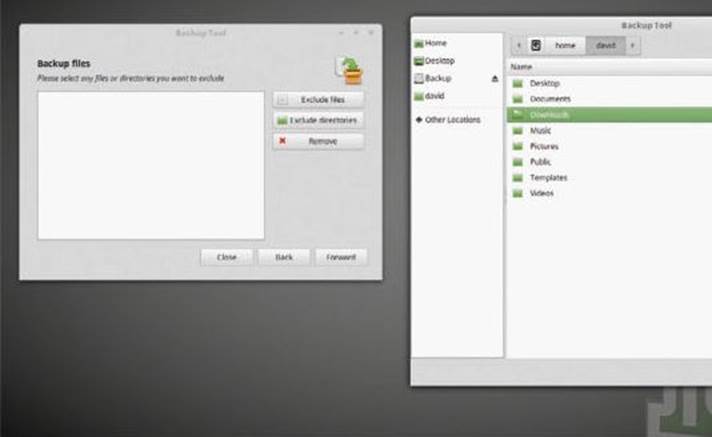
The next window gives you the option to exclude any Piles or Folders from the backup. IP you have several gigabytes of Piles, for example in your Downloads Folder, that you don’t want being backed up, then you can click the Exclude Folder button and choose Downloads from the list. Click Forward to continue.
STEP 7
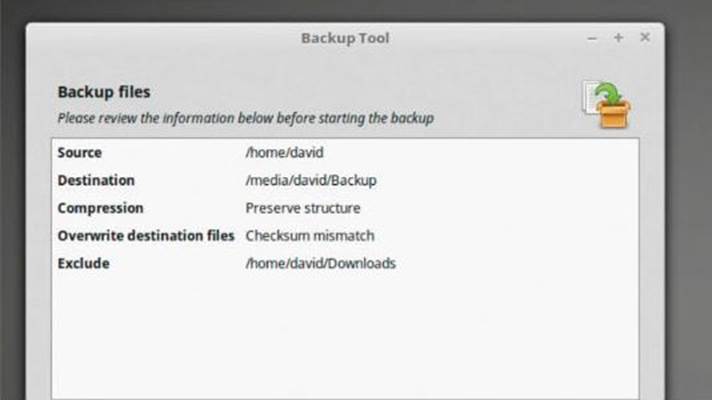
This window displays a review of the events that will about to happen. In the case of our example, the source:
/home/david, will be backed up to the destination: /media/david/ Backup. There won’t be any compression, any mismatched Piles will be overwritten and the Downloads Folder will be excluded. IP the review looks okay, click the Apply button to start.
STEP 8
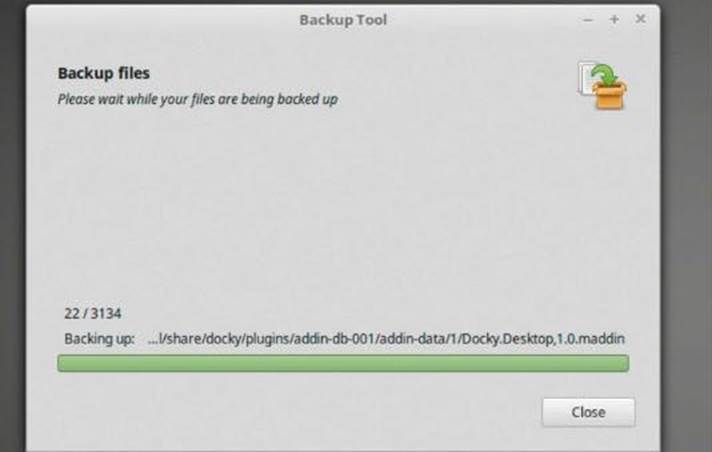
Depending on the number and size of the Piles you’re backing up, the process could take from several minutes to several hours. The progress bar will inform you where it’s at in the back up routine, and which files are currently being copied to the destination.
STEP 9
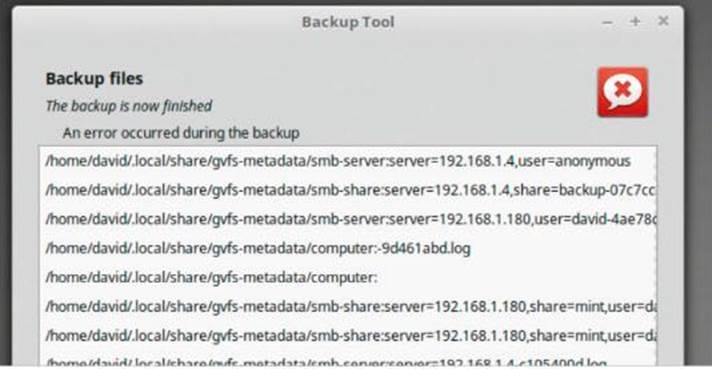
At the end of the backup any issues with accessing and copying Piles will be displayed in the Backup Tool window; if you’re wondering, there are always some errors when you’re backing up your entire user Folder, as some Piles are in use and can’t be copied over. It’s nothing to worry about, as long as your personal data/ work is backed up.
STEP 10
If your actual work Piles are backed up, without any errors, click the Close button. You can double-check the backup by opening the contents of the destination, the USB Flash Drive in this case, to see if everything is backed up accordingly. IP all went well, then store the device in a safe place.
Restoring from Backup
Having a good backup is important but if you’re unable to access the files to restore them to their original locations it’s a bit pointless. Therefore, you need to test the backup by restoring files and folders.
RESTORING YOUR FILES
For this example let’s use the Files we backed up in the previous pages. That way, we can test that our backup routine did the trick, and will work should we ever need it to.
[sc name=”ad 1″]
STEP 1
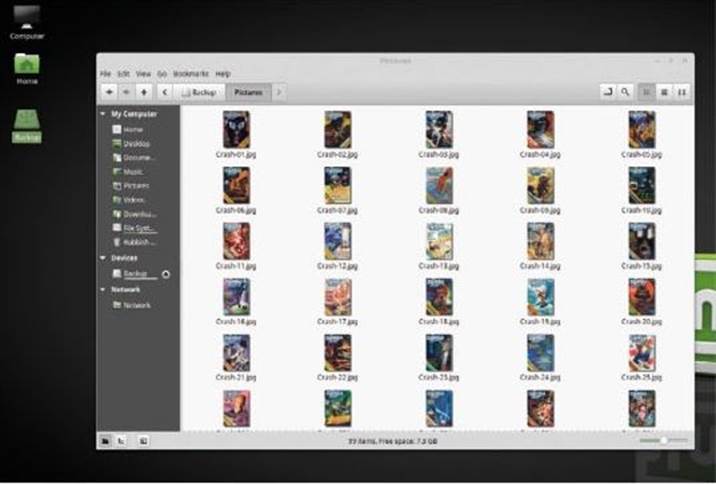
There are two ways in which you can restore your Files from a backup: directly or via the Backup Tool. Use your Pictures Folder in the Home area as a test. You did have 98 pictures in there when you performed the backup, now you can delete the contents of /Pictures.
STEP 2
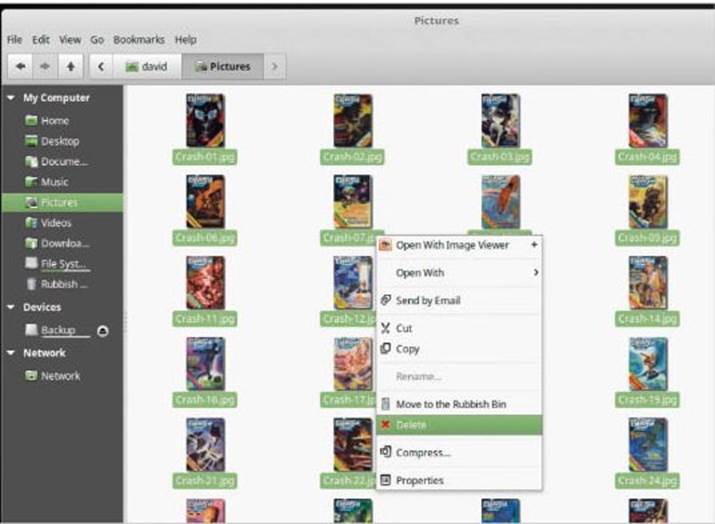
You’ve deleted the images in /Pictures, not sent them to the Rubbish Bin, so essentially they’re gone for good. Using the direct method of restoring the images, open up the destination drive, or area. In our backup this was an 8GB USB Flash Drive with the label, Backup.
STEP 3
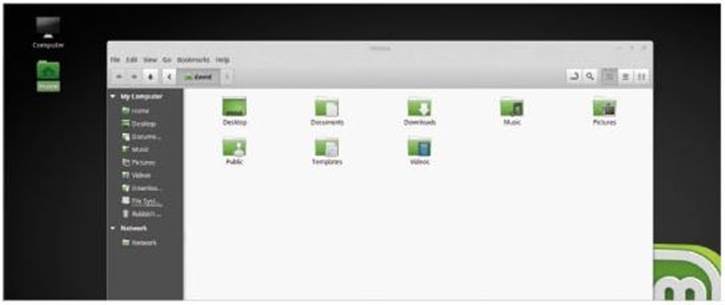
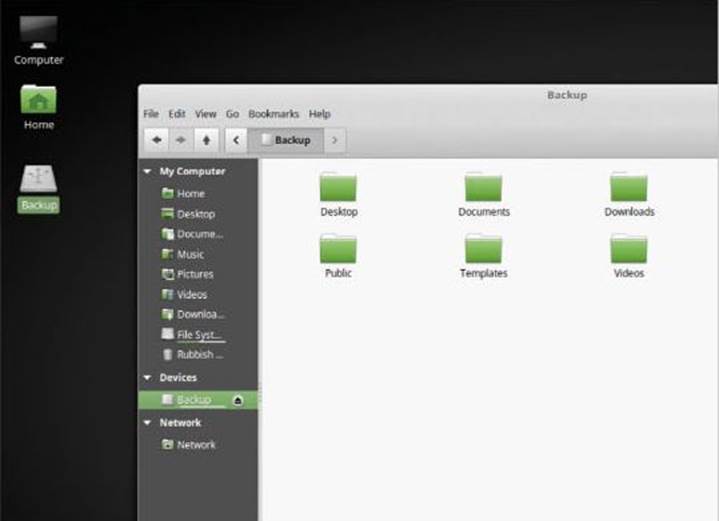
The backup displays the entire contents of the Mint username Folders: Desktop, Downloads, documents, Music and of course, Pictures. You can double-click the Pictures Folder in the backup location: press Ctrl+A to select all, right-click and choose Copy. Then in the Home Folder, open Pictures, right-click and choose Paste. After a Pew moments the images will be copied over.

STEP 4
This is the easiest approach and allows you to choose what to restore at a brick-level, in other words from a single Pile upwards. IP you need to restore a lot of data though, the direct method isn’t so effective. Open the Backup Tool, via the Mint Menu, once more and enter your password.
STEP 5
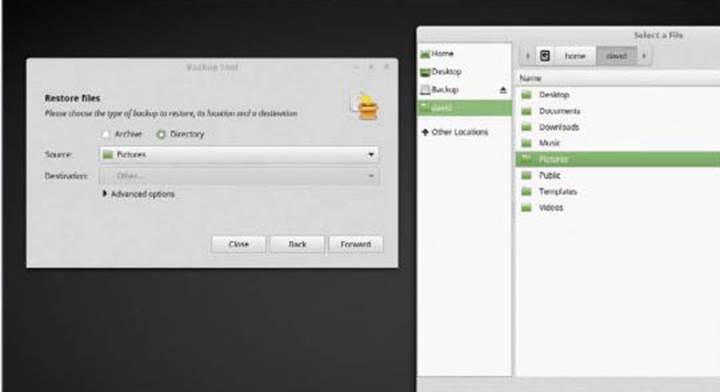
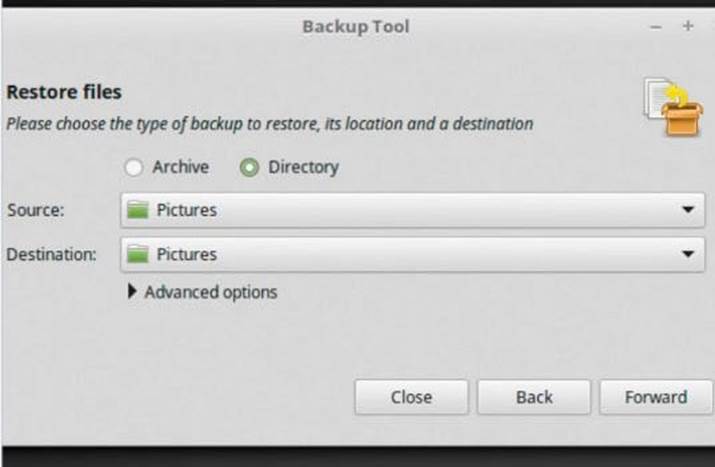
From the available options, this time select Restore files. In the Restore Files console window, choose the Directory radio button. As the Source, choose the backup location (we’re using the Backup Drive’s Pictures folder here) and in the Destination, choose the Mint username Pictures folder.
STEP 6
Once you’ve selected your source and destination folders, remember they are the reverse of when you backed up, i.e. from the backup media to the folder in the Linux Mint username area, click the Forward button.
STEP 7
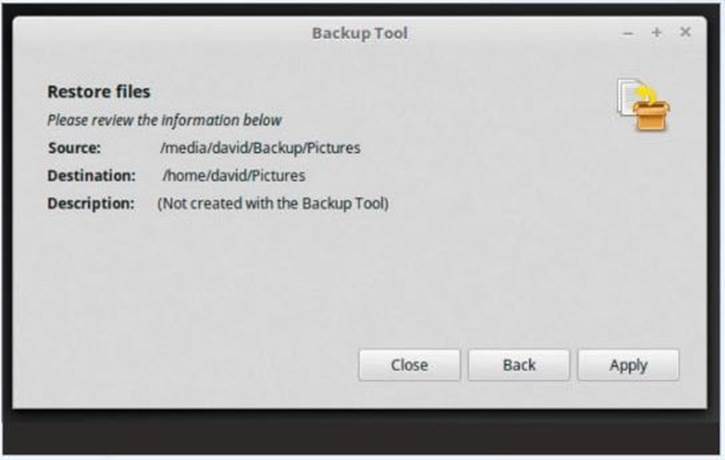
You are now at the review display window. Make sure that the source and destination locations are correct and that any other details are correct. Don’t worry about the ‘Not created with the Backup Tool’ notice, although the backup was created by it, it’s assuming it was a straight file copy, the easiest form of a backup.
STEP 8
If everything looks okay, click the Apply button to commence the restoring of the selected files or folders. Again, as with the backup routine, depending on the size and how many files are being restored it could take some time.

STEP 9
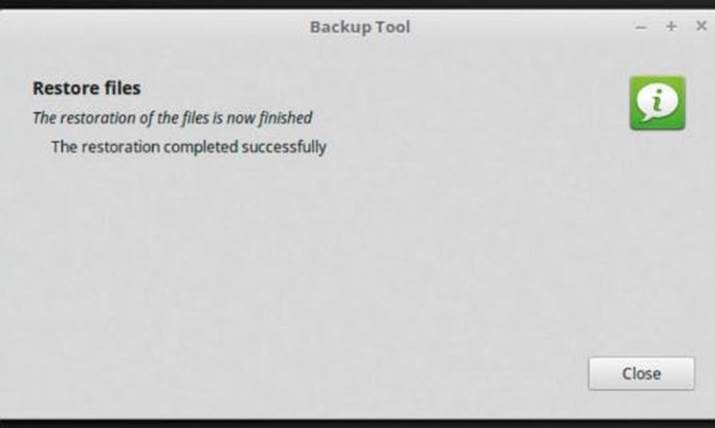
When the file restore is finished, you’ll receive a notice of success or any failures. Read through the failures, if there are any, to see where the restore process went wrong and how you can recover the non-restored files. Otherwise, if everything went fine, click the Close button to finish the restore.
STEP 10
If you now look to the folder where your files have been restored, they should all be there and accessible as before. If anything went wrong or they aren’t there, repeat the steps and check to see if the source and destination locations are correct.

Backup Linux Mint in a Virtual Environment
Although backing up Linux Mint isn’t too difficult, those who use the OS in Virtualbox have a far easier time of creating a backed-up image of the OS. With Virtualbox you can create snapshots of a guest operating system, which can easily be restored.
TAKE A SNAPSHOT
Mint is installed, it’s updated, and several apps added. Something then goes wrong and it becomes unbootable. If you take a Virtualbox Snapshot, you can return to where you left off in an instant.
[sc name=”ad 1″]
STEP 1
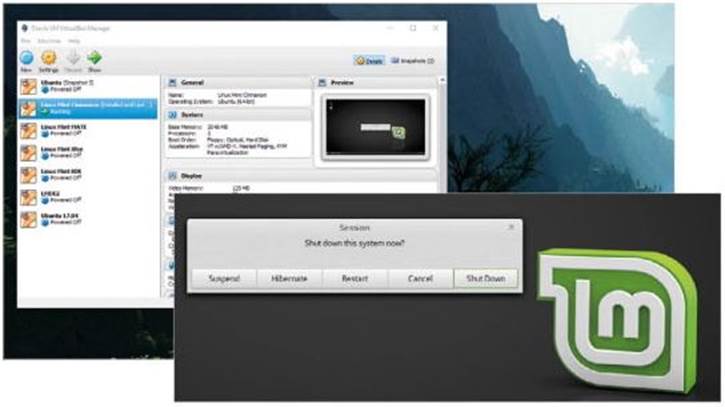
Remember folks, this is just for those users who are running Mint in Virtualbox. Other virtual machine clients will work differently, but all will offer some form of snapshot function, so you may need to refer to the client’s manual. To begin with, open Virtualbox. If it’s already open, shutdown the Mint Virtualbox image.
STEP 2
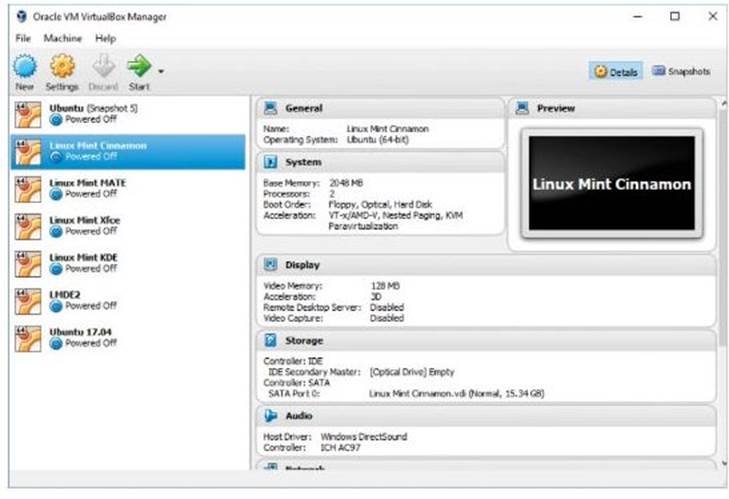
A snapshot in Virtualbox is simply an image of what the virtual machine ‘looked’ like at the time the snapshot was taken. You can make multiple snapshots and revert to any whenever you wish. Here we have six different Linux guest systems: Ubuntu, Mint Cinnamon, MATE, Xfce, KDE and LMDE2.
STEP 3
Note that the state of all the virtual system is currently Powered Off. To create a snapshot of the Linux Mint Cinnamon system, left-click to highlight the system’s entry in Virtualbox, then click on the Snapshots button, located to the far-right of the Virtualbox console: it’s a camera icon.
STEP 4
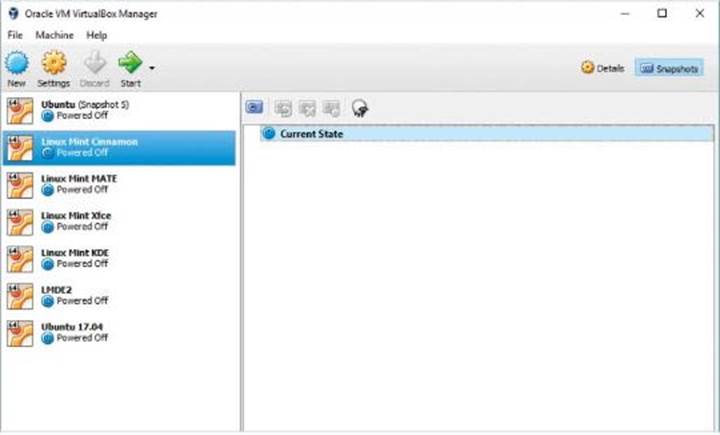
At present there aren’t any snapshots of Mint Cinnamon available. To create one, click the camera icon just above the words Current State; the icon at the opposite end of the sheep icon. This will launch the Take Snapshot of Virtual Machine console window.
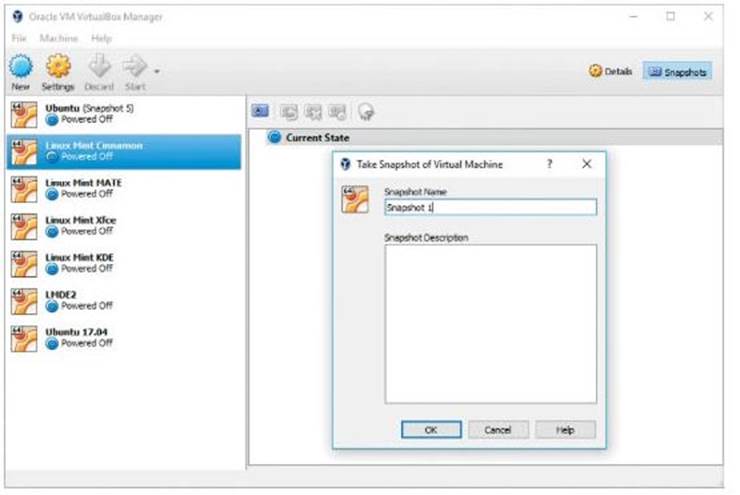
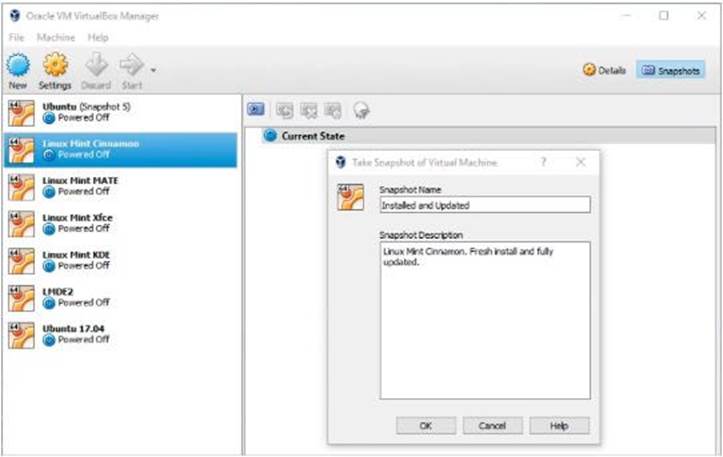
STEP 5
If you want you can name the snapshot, Installed and Updated for example, along with a description to better help identify it from the other snapshots you’ll eventually end up making. It’s not hugely important but if someone else needs to load up Cinnamon, they can see which snapshot to go for. When you’re done, click the OK button.
STEP 6
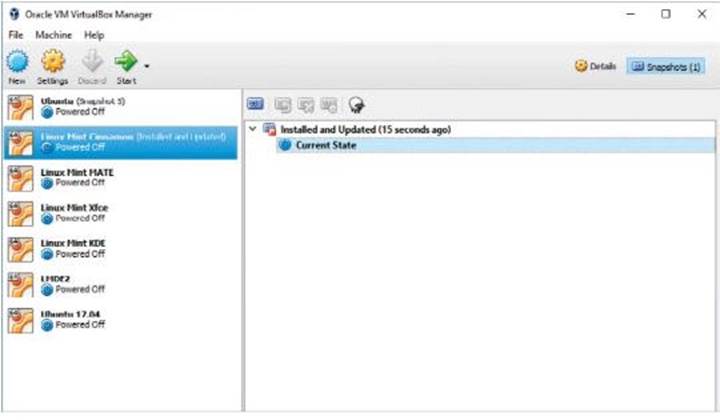
The process will happen almost instantly, and you’re left with an entry in the snapshots section detailing the named snapshot, how long ago it was taken and a Current State entry. The Current State is literally its state when you boot it up. With it highlighted, you can take more snapshots by using the camera icon again.
STEP 7
If you left-click the named snapshot, you have more options available in the toolbar just above. Here you can Restore a selected snapshot, if you have multiple entries. You can Delete a snapshot and view detailed information regarding one; with the sheep, you can Clone the current snapshot as a new virtual machine.

STEP 8
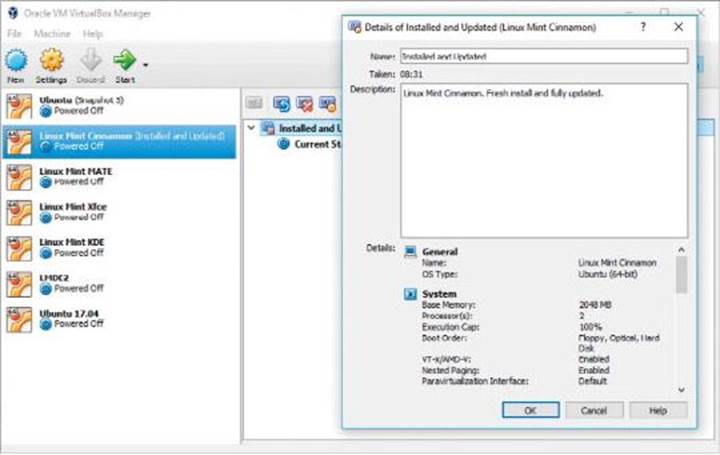
If you click the Details of the named virtual machine icon, the one next to the sheep represented by an orange circle, you can view the Virtualbox settings of that particular snapshot. This way you’re able to assess any issues that may arise with other virtual machines; then you can see which settings worked and which didn’t.
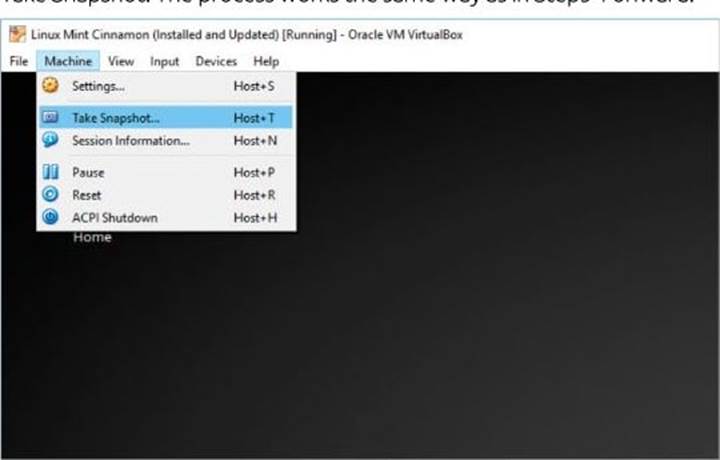
STEP 9
Although we shutdown the guest system, a Virtualbox guest doesn’t need to be shutdown in order for a snapshot to be taken. For example, prior to installing an experimental app, click the Machine entry in the Virtualbox top menu bar and choose Take Snapshot. The process works the same as in Steps 4 onward.
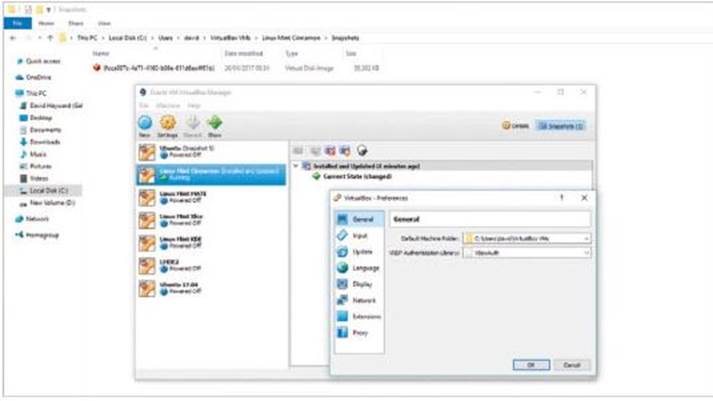
STEP 10
Each snapshot taken can be reverted back to, cloned, deleted and so on. However, snapshots are stored by default in the Users/username/VirtualBox VMs folder in Windows. So if you only have a limited amount of space on your C:\ drive, you may want to set the path to a bigger hard drive in the File > Preferences option in Virtualbox.


Hey thank you for that great “how to,” as I just tried that “backup app” on Mint. and I couldn’t figure it out, as what “IT” wanted me to do!
And I’m used to Deja Dup, and liked it better, but “IT” wanted an email address that “IT” didn’t need for 5 other years, so why… I just uninstalled! I don’t like spam, more than I like backups! LOL!
And… in one of your sentences, in STEP 6…. it says….. copied and pasted…. “Piles or Folders from the backup. . .”
Just to let you know for a change, knowing most people don’t have “Piles of Folders!” Just a joke!
Keep up the GREAT, “How Tos” I like them!