Learn how-to… Edit and sync notes securely
Learn how-to… Edit and sync notes securely
“Joplin is the perfect note-taking tool. Get started with this powerful and completely free app”
We’ve spent a long time trying to find the perfect note-taking service, and we’ve finally struck gold in the form of Joplin. It’s free and open source, plus works across all major desktop and mobile platforms – including Android and iOS – so you can access and update your notes from anywhere. When it comes to syncing notes, you’re fully in control: you choose which cloud platform to use and can optionally encrypt your notes to provide an extra layer of protection.
You can also add note-clipping capabilities to your Firefox or Chrome web browser. Last, but not least, Joplin is perfect whether you want to record quick text-based notes or emulate the rich features found in Evernote, from fully styled text to support for images and file attachments. Joplin is everything you ever wanted in a note-taking tool – read on to start using it.
NOTEBOOKS Organise your notes into notebooks (drag them into other notebooks for another layer of organisation).
NOTES Each notebook is made up of notes as well as to-do lists, which you can tick when done to mark as completed.
TAGS Take the time to add keywords to your notes to create more ways to organise and filter the list of notes.
SYNC NOTES If you’re storing notes online or syncing with other devices, click here to manually back up or sync your notes.
Step-by-step I Set up, use and sync notes
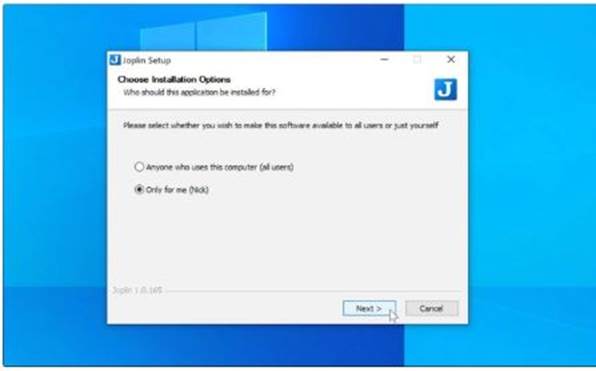
1 Install Joplin
Open your browser, go to https://joplinapp.org – scroll down the page for the download link. The ‘Get it on Windows’ link is a traditional installer or you can click on the ‘Portable version’ link for a single self-contained file (JoplinPortable.exe). If installing, you can choose to install it for just yourself or other users of your PC too. Once installed, let Joplin launch.
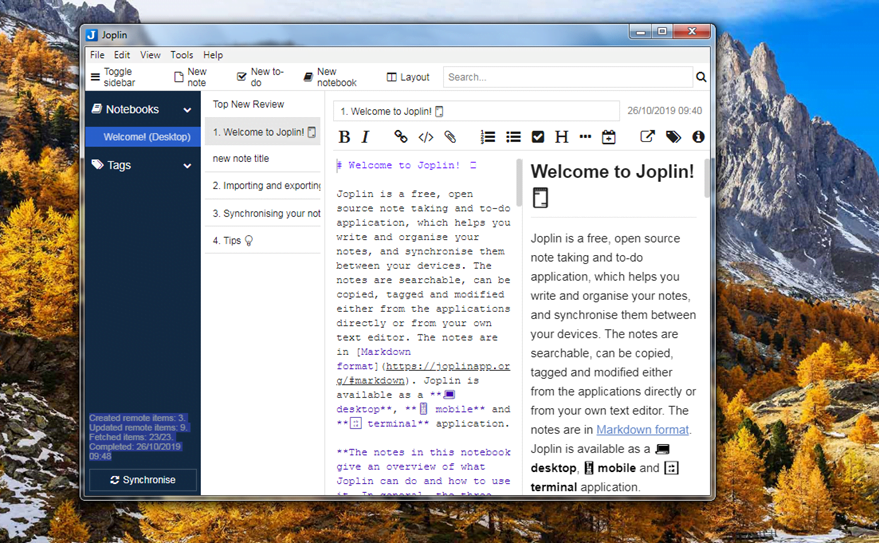
Review user interface
The annotation reveals how Joplin organises your notes using a series of notebooks, with keyword tags available to help produce filtered views. Start by clicking the ‘New notebook’ button to store your first related set of notes in. Give it a suitable name and click OK. If you need another layer of organisation, you can create notebooks to nest inside other notebooks too.
MARKDOWN Markdown controls are found on the toolbar, or you can input them (and HTML-style codes) directly into a note.
EDIT AND PREVIEW Type your note or make changes in the left-hand pane; the right-hand pane shows your post with all formatting.
NICK’S BEST TIP!
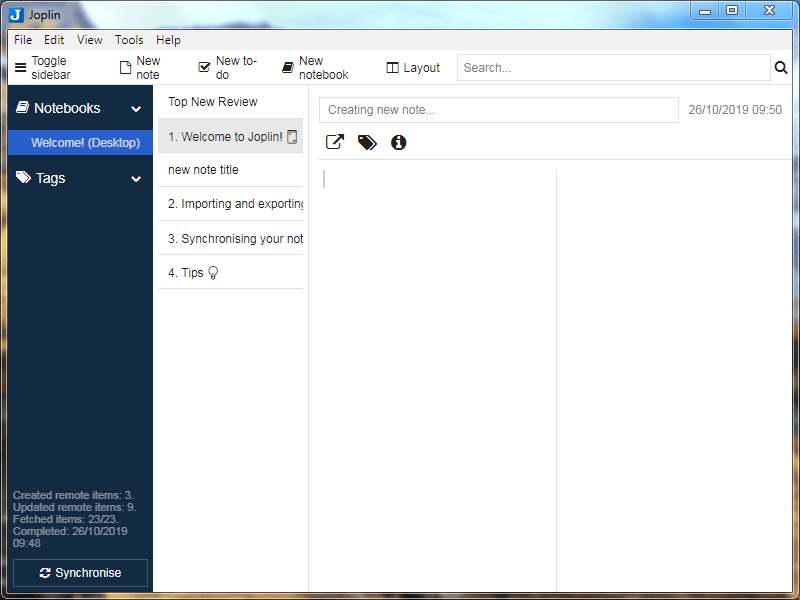
3 Create your first note
Tap ‘New note’ to create a new note and open the dual- paned edit/preview window. Give it a title, then start typing in the left-hand pane – changes are saved as you make them. You’ll see the right-hand pane mirrors what you type. Click the Layout button once to hide the preview window (click again to show only the preview window, and again to bring back both.

4 Style up your note
Keep typing. You’ll see a series of buttons above the edit window that allow you to style up your text in various ways – these insert Markdown characters (such as ** for bold) that appear in the edit pane, while the preview pane shows how the note will look. You can also style using HTML code, apply headings and add lists, hyperlinks, horizontal lines and tick boxes.
Attach files
You can also attach files to your notes. Either drag the file into your note from a File Explorer window or position the cursor within your note and click the paperclip button to select it. A clickable link to the file will appear unless it’s an image, in which case the image itself is displayed. Hold [Alt] as you drag an image on to the note to create a link instead of displaying it.
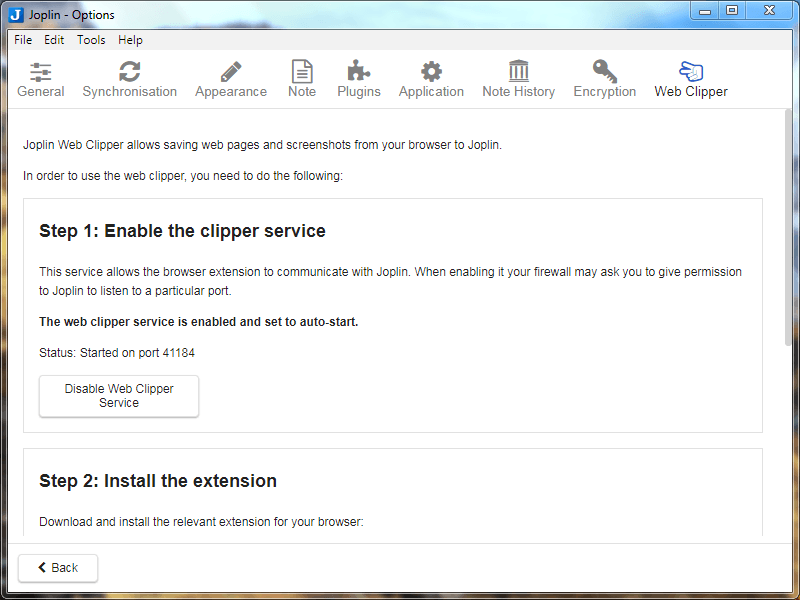
Enable Web Clipper
Both Firefox and Chrome web browsers offer a free Web Clipper tool for generating notes from all or part of web pages. First, open ‘Tools > Web clipper options’ in Joplin. Click ‘Enable Web Clipper Service’, then click the appropriate link to locate and add the extension for Chrome and/or Firefox. You should see the Joplin icon appear in your browser’s toolbar.
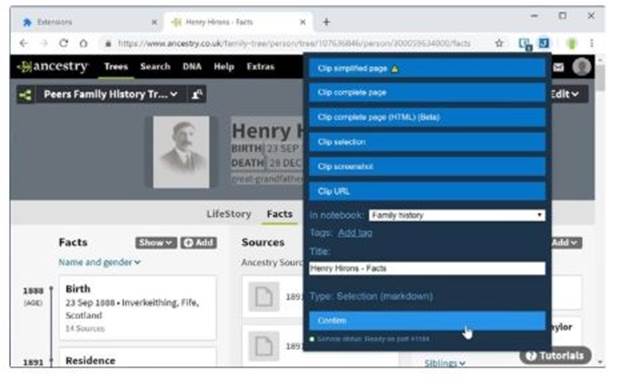
Clip web pages
Once set up, browse to a web page containing content you want to use, then click the Joplin button to bring up a list of options. You can clip the complete page (including a simplified note-friendly version), or choose to clip selected content, a screenshot of the page or a URL. Choose a notebook, give your note a suitable name, add tags and finally click Confirm.
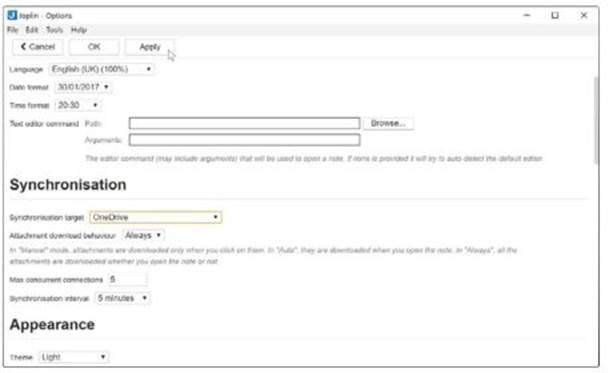
Back up and sync notes
Joplin works best across multiple desktop and mobile devices. For this to work you need to set up synchronisation using a third-party service to store the notes – supported services include Dropbox, OneDrive (our choice here), Nextcloud, file system (a local network folder) and WebDAV-compatible services. Make your choice and click OK followed by Synchronise.
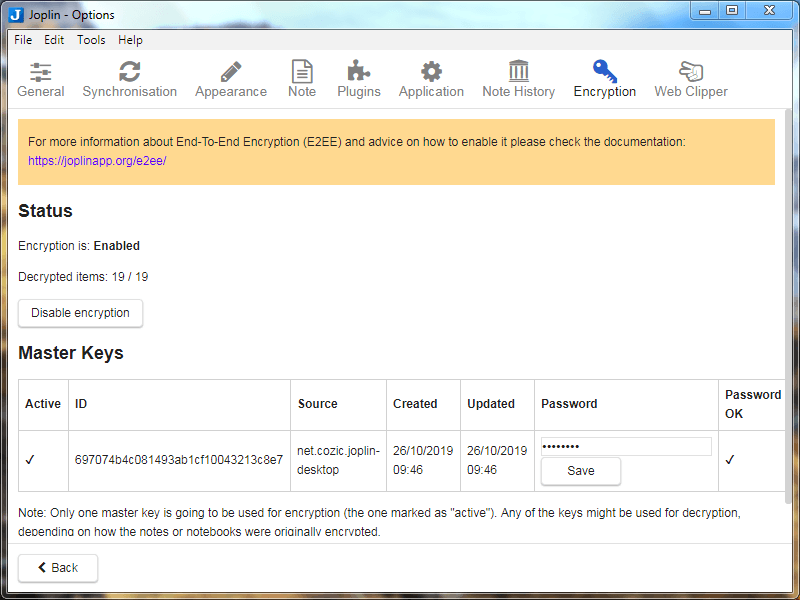
Encrypt your notes
The first time you try to sync you’ll be prompted to sign into the service you’re using. Once done, your notes will be synced. By default, they’re unencrypted, so choose ‘Tools > Encryption options’ and click ‘Enable encryption’ to protect them. You’ll be prompted for a master password – make it strong, but memorable – then click OK. Your notes will now be encrypted when synced.
Stay in sync
When you set up Joplin on another device and choose to synchronise using the same online service, you’ll automatically download any notes stored in the cloud. Make sure you choose ‘Tools > Encryption options’ where you’ll need to enter any master passwords from other devices to decrypt notes created on those devices. Your secure, synced note-taking system is now in place.


